Carolyn Pearce Home Sweet Home workbox 34: beaded cord for the thread cutter

This is the last part that I need to do to finish the thread-cutter cover that I am making. I had to read the instructions for this part several times in Carolyn Pearce’s book ‘Home Sweet Home: an embroidered workbox’ to get the hang of it, and it took a while before it all made sense. Maybe it was just me! But once I’d understood it, I realised it’s a very clever way of making a necklace cord without a clasp.

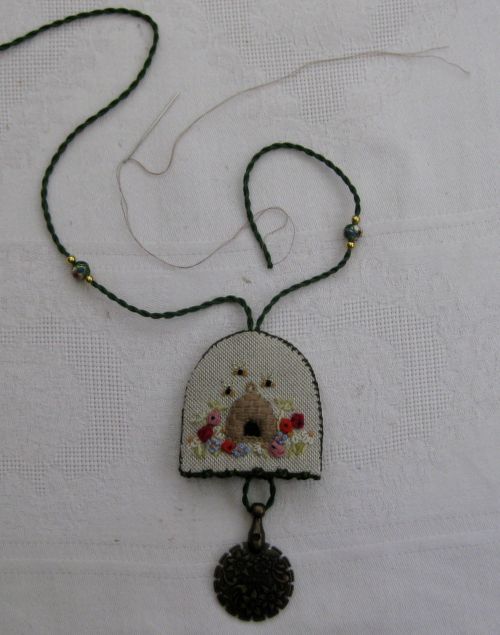
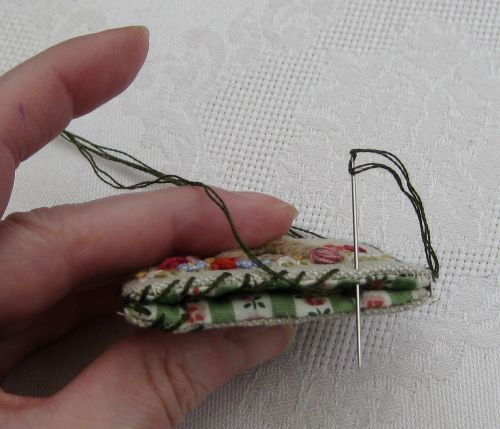
First, I made a twisted cord from Anchor stranded cotton, and threaded on a gold bead, a cloisonne bead and another gold bead, then took the cord down through the top of the cover, looped on the cutter itself, then threaded it back up through the hole again (be very careful not to split the cord as you come back up, as I did!), adding three more beads again. The needle and beige cotton is used to get a ‘sharp end’ to the cord, so that it will go through the small beads easily.

Cutter 16

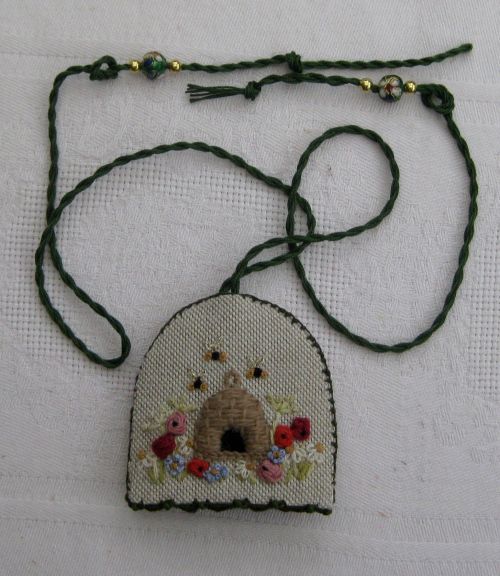
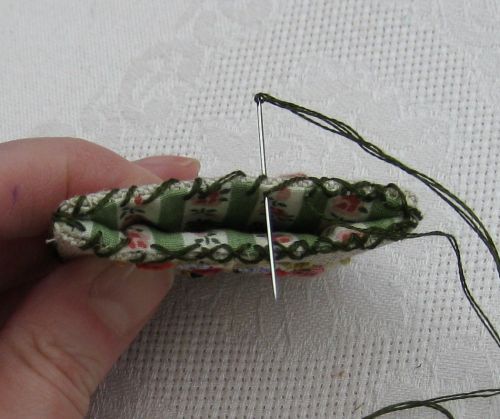
This is the clever bit to make the join in the cord: first, loosely make a knot in the cord on both lengths *nearest* to the cutter, but after the beads have been threaded on. Don’t pull these knots tight just yet. Put tight knots in the ends of the cord at both ends, to stop the cord from unravelling. Overlap the cord ends by about half an inch (check that the cutter cover hangs at the correct length for you before doing the next bit). With strong cotton, stitch through the overlapping cords to join them, then trim the end knots off.

Cutter 17

Take a small piece of felt, half an inch by an inch and a quarter, and roll it tightly around the join, stitching over the overlap, and tying off each end of the felt roll to pull in the ends a bit. Make this as neat as you can.

Cutter 18

Then, with a strong embroidery thread such as Perle 12, make long stitches from one end of the wrapped felt oval to the other, all the way round it (Carolyn suggest 14 lines, but I could only manage 9), so that the felt oval looks ‘stripey’!  Then work Detached buttonhole stitch over the whole of the felt oval, using the long threads as a base for the first round only, covering all of the felt by working the stitches closely together. I couldn’t take photos of that bit, as once I started, I realised I couldn’t put it down, or it would all unravel! When completed, the buttonholed oval looks sort of knitted.

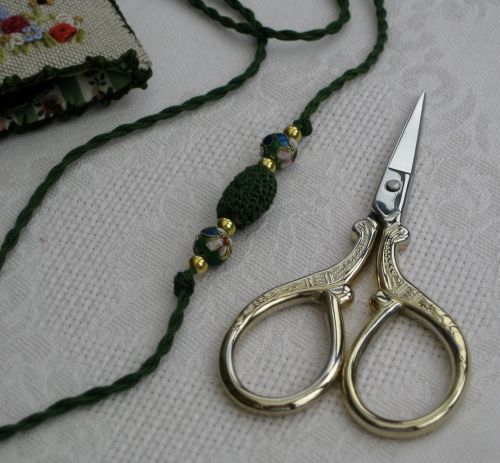
Finally, loosen the temporary knots beyond the beads on each side, slide the beads up to the buttonholed oval, and tighten the knots again, to hold the beads in place.

Cutter 19

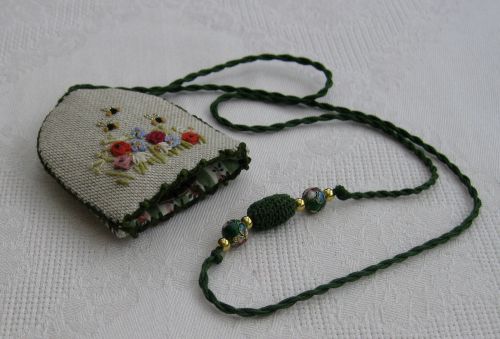
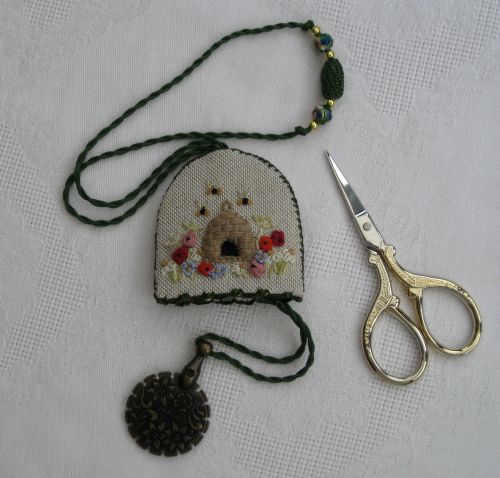
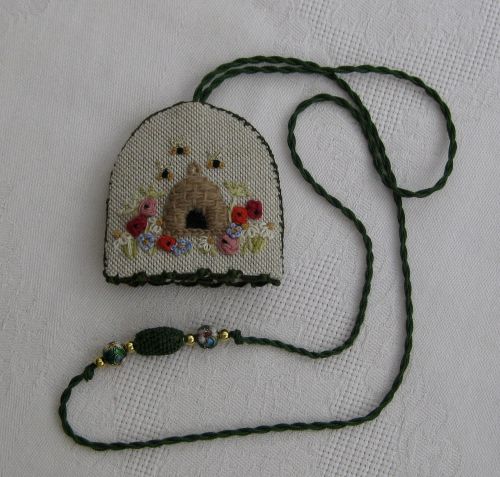
This is the finished thread-cutter cover. I’m so pleased with this!

Cutter 20

I think it’s my favourite out of all the ‘smalls’ I’ve made so far.

Cutter 21

It’s a useful accessory, and very pretty, too.

Cutter 22

And that way of joining the cord is just so clever and neat!

~~~~~~~~~~~~~~~~~~~~~~~~~~~~~~~~~~

Dollhouse Needlepoint newsletter sign-up invitation


Carolyn Pearce Home Sweet Home workbox 33: thread cutter decorative edging

The thread-cutter cover that I am making from Carolyn Pearce’s book ‘Home Sweet Home: an embroidered workbox’ is nearly finished. I’m making the decorative edging to go around the bottom edge of the cover now.

The base stitches need to be worked first. This consists of making a series of crosses of alternating long and short stitches over the edge seam around the base of the cutter cover. I made all the stitches going from left to right first….

Cutter 12

…and then completed the crosses by going from right to left. At this point, it all looks a bit messy!

Cutter 13

Then, using the same thread (two strands of Anchor stranded cotton 934 Dark green), I started to attach size 11 seed beads to the small crosses (using a quilting needle), and work a buttonhole loop over the long cross stitches. The more buttonhole stitches you squeeze into each loop, the better.

Cutter 14

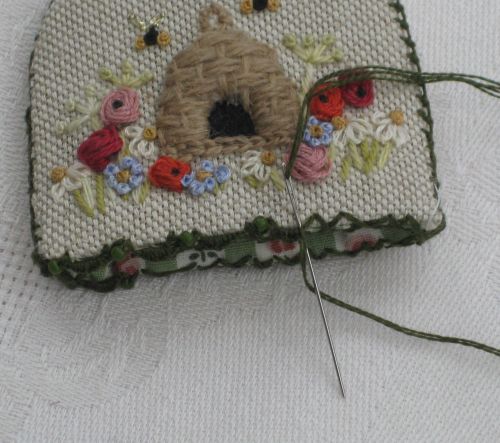
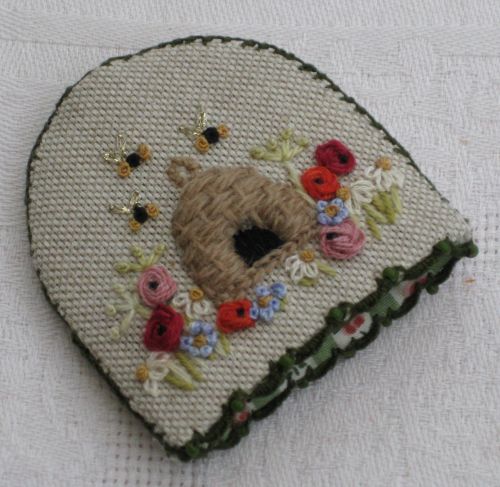
This shows the completed thread-cutter cover, with the beaded edge finished.

Cutter 15

Only the hanging cord to make, now, and it’ll be done  🙂

~~~~~~~~~~~~~~~~~~~~~~~~~~~~~~~~~~

Dollhouse Needlepoint newsletter sign-up invitation


Carolyn Pearce Home Sweet Home workbox 32: thread cutter cover assembly

Now that I’ve completed the stitching for the thread-cutter cover from Carolyn Pearce’s book ‘Home Sweet Home: an embroidered workbox’, I need to assemble it – not my favourite occupation! I always think I’m going to ruin things at this point!

I apologise in advance for the quality of the images in this blog post – I was doing all this late at night, and the photos needed to be taken as I went along, to try to show the stages, but it’s not been very successful  😦

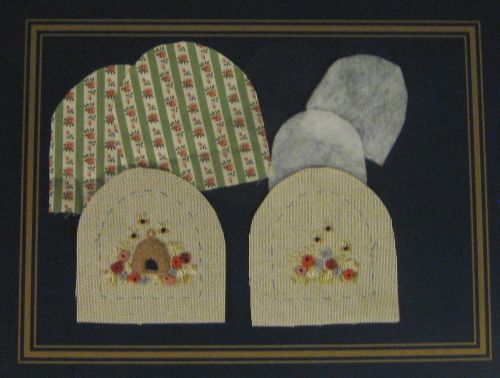
Anyway, here are all the pieces, cut out and ready to assemble. Stitched pieces (front and back) striped cotton for the lining, fine wadding (Pellon) to back the embroidery with, and two pieces of acetate to stiffen the front and back pieces (which you can hardly see in the photo).

Cutter 6

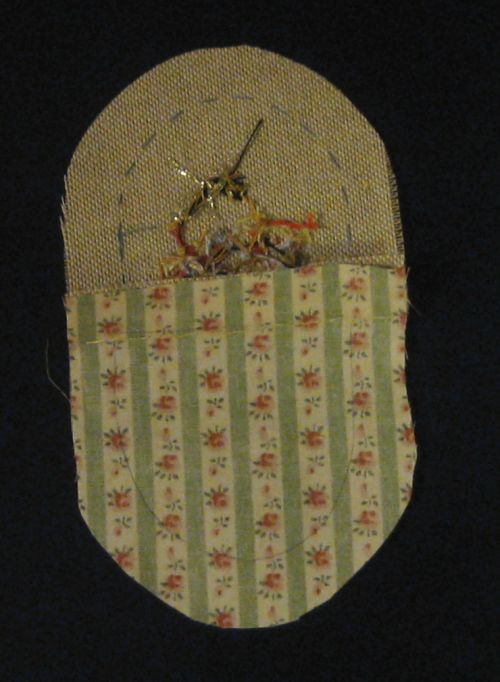
Each embroidered piece is first attached along what will be the bottom edge of the cutter cover to the relevant lining piece.

Cutter 7

A gathering stitch, using quilting cotton (the white thread in the photo) is made in the seam allowance of each joined piece. The piece of acetate is put behind the embroidered side, and the thread is gathered up, pulling the seam allowance over the acetate. The rest of the gathering thread, around the edge of the lining side, is supposed to help pull it into a curved shape so that it backs the acetate/embroidered side piece. This didn’t work too well!

Cutter 8

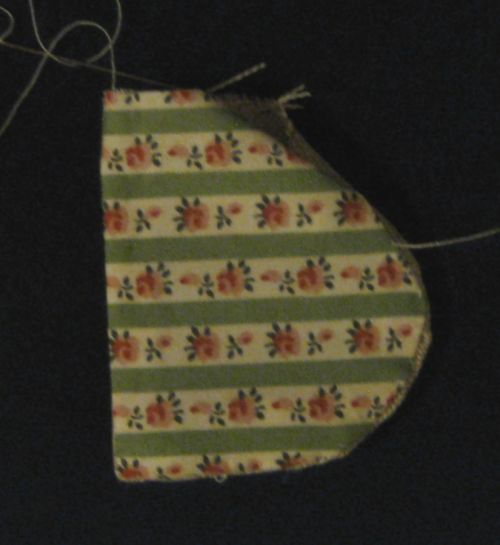
But with a bit of fiddling, I managed to get the lining to fit the shape of the front piece, and slip-stitch the lining to the front around the edge, angling the stitches so that the lining piece was just a tiny bit smaller than the front. This way, the lining won’t show around the edges when I do the next bit.

Cutter 9

The two embroidered/lining pieces are then put lining sides together, and slip-stitched all around the curved edge, leaving a half inch gap at the very top, for the hanging cord to go through later.

Next morning, I carried on with the assembly, the sun came out, and my photos were a lot better!

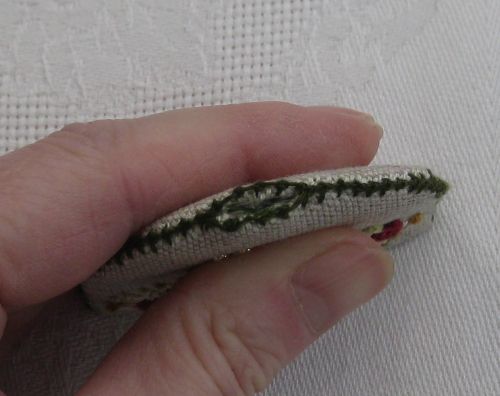
This is the thread-cutter cover once I had worked Knotted pearl stitch all around the curved edge, over the slip-stitches. Around the gap at the top, I worked the Knotted pearl stitch on both edges.

Cutter 10

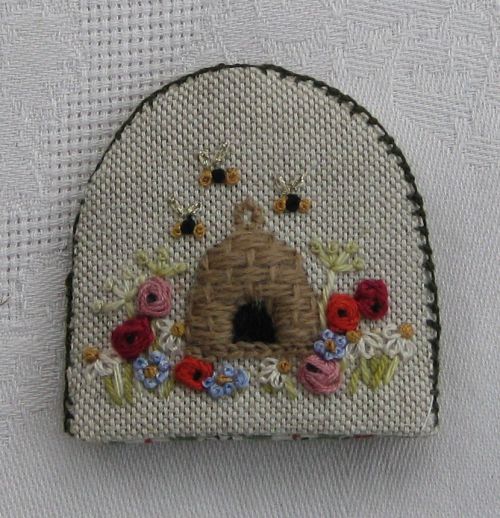
So, this is the front of the thread-cutter cover itself, once completed except for the decorative edging along the bottom edge, which I’m hoping to do next, before going on to making the hanging cord.

Cutter 11

It’s coming out really nicely, isn’t it?!

~~~~~~~~~~~~~~~~~~~~~~~~~~~~~~~~~~

Dollhouse Needlepoint newsletter sign-up invitation


Carolyn Pearce Home Sweet Home workbox 31: the beehive thread cutter cover embroidery

This next sewing accessory that I am making from Carolyn Pearce’s book ‘Home Sweet Home: an embroidered workbox’ is a very unusual one. It’s a thread-cutter cover, for one of those round cutters, such as Clover make, for instance. They are the sort of cutter that you can sometimes take onto planes, because the blade is protected, so it can’t be used as a weapon!

This cover is made to be worn as a necklace, so that you always have the thread-cutter to hand as you’re stitching. It features a little beehive and some bees among the flowers.

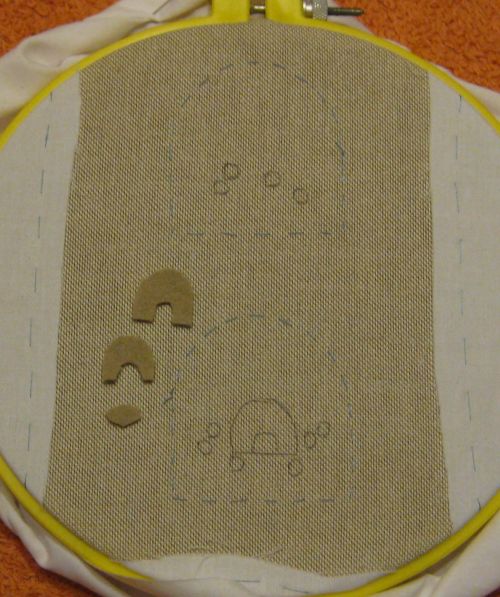
I started by tracing the design onto the fabric using a sharp pencil and my light box to help me, then I cut out the small pieces of beige felt, to pad the beehive shape with. It needs three layers to pad it enough, starting with the smallest piece being stitched down first.

Cutter 1

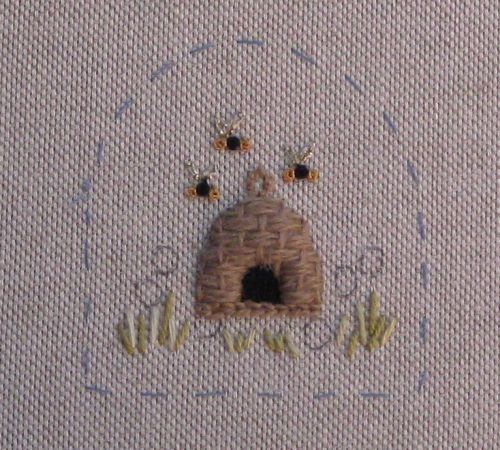
The beehive itself is embroidered by laying an uneven number of long vertical threads across the shape (avoiding the doorway), then two passes of the same shade of wool are woven backwards and forwards horizontally, to make the beehive look realistic. It was fiddly to do this bit, but I like how it’s come out, The doorway itself is black satin stitch, worked after all the weaving stitches are finished.

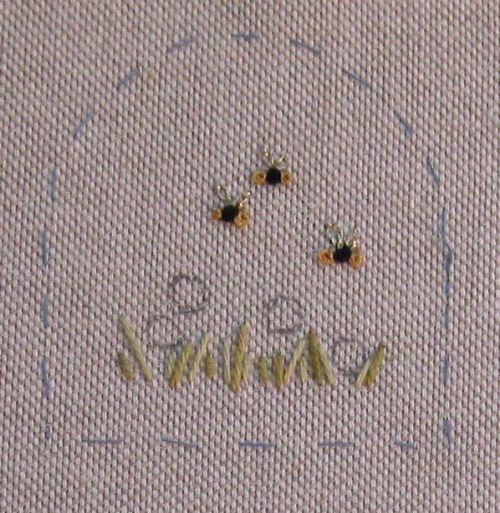
The tiny little bees (they’re only about a quarter of an inch long) are made by stitching three French knots in a line – yellow, black, then yellow again – with two tiny lazy daisy stitches in Kreinik gold thread for the wings.

Cutter 2

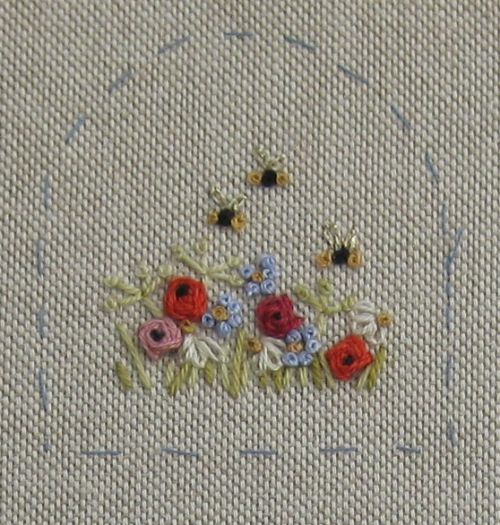
The blades of grass are straight stitches in two shades of very fine wool. This is the reverse side of the thread cutter cover, which has flowers, bees and grass, but no beehive.

Cutter 3

The flowers on both front and back are stitched next. The anemones are raised cross stitches, woven in three shades of red, with a French knot in black in the centre. This knot is helpful, as it stops the flower shape from ‘untwiddling’ itself!

Cutter 4

The blue flowers are a gold French knot surrounded by five blue ones, and the daisies are three individual lazy daisy stitches stitched in a curve, with a gold French knot at the centre of the curve.

Cutter 5

The embroidery for both the front and back panels only took me two evenings to stitch – not long at all. The assembly will probably take longer than that.

~~~~~~~~~~~~~~~~~~~~~~~~~~~~~~~~~~
Dollhouse Needlepoint newsletter sign-up invitation